Wednesday, January 18, 2012

Torrey Pines

Several years ago, I had the great pleasure to visit the San Diego area for the opening reception of the Visions show.  We made a day trip to Torrey Pines State Park, and I made a piece based on some photos I took from the back door of the visitor's center.  The place is unique, in my experience, because you drive up to the top of a mountain overlooking the sea, yet are still surrounded by trees.  They are unique to the area, but since I can't see what makes them so different, I just made some regular old pine needles :)
This is one of my pictures that I used as reference- of course, I changed things around substantially.
 First I ripped off a hunk of silk and painted a sky
 Then I put up a piece of newsprint- off of a 48" wide roll I bought a couple of years ago- a must have!
Since I hate drawing straight lines, the horizon line is folded in.  A couple of reference photos are printed out and pinned to the right.
Here's the sketch, freehanded of course.  Yes, this is all the drawing I usually do.
 here you see my fabulous light table- recycled glass shower doors, sawhorses, shop light.
I have the newsprint sketch between 2 of the glass pieces, and will lay silk over the top to paint it.  The light shining upward will let me see the guidelines of the sketch with out having to actually make marks on the silk.
painting in progress, it's intentionally very loose and flowy- I'll add details with paintstick and stitching.
 my favorite stencil- ripped up paper.  You can do almost anything with it.
 surf lines and estuary stream.
I seamed the sky and the sea/land portion along the horizon line, and pre quilted the entire thing.
 here is is, having boulders and hills tried on for size.  The ones on the left are from another picture I took there that I printed onto fabric, chopped up and rearranged.  It's further to the right than the view of the actual picture, but was so cool I had to include it.
 this will all go back on the machine and get quilted.
 Finally, we get to the pines.....first, the branches are stitched with dark thread, which extends beyond the "bark" area to give me more detail and structure for the needles.

Finally, I come back with green for the needles- the better part of a cone of thread went into this.
et voila-
                                                               Torrey Pines, 45x50"

This piece is dedicated to my late, dear friend Trish.  I know she's in a place even more beautiful.
Rest in peace.

Tuesday, November 15, 2011

Making Organelle

I've had the honor of having "Organelle" selected for Art Quilt Elements in 2012.
It was my only entry to the show, since it was a voyage into the unknown for me- I've been wanting to go further into texture, and thought I would write a little bit about making it.


 I started with a piece of raw silk that my friend Darlene brought back from China.
I acid dyed it----part of it was used for another project so it's an odd shape.
 Then I began laying out various types of felting material on top- the white is a needle felting wool from my friend Martha, and the colors are silk and wool from a shop in Taos.The actual layout of the fibers took a day and a half.


 I wet felted the layers together using good old muscle power with a little help from my palm sander :)
The fibers were able to bond due to the coarseness 
of the raw silk, which is the reason I chose it as the base.
the silk & wool roving behaved very differently from the needle felting wool.
I laid this top on a piece of commercial felt- you can see other pieces of it in there, I used every scrap- then I quilted the heck out of it.

Some details- I tried to use the sewing to enhance the flow of the fibers, also I paid attention to the density of the stitching as I wanted the areas with less thread to pop out.


 I then cut the piece of raw silk apart and appliqueed it to a batik background, layered with batting and backing.
here it is being re quilted with my little helper.
The double quilting really gave it a lot of texture- I named it after cell sub-structures....
nearly finished, it took a while to decide on the final orientation.
Here it is, see you at the opening reception, I hope!

Tuesday, October 11, 2011

how to make a fox

We have been given an wonderful opportunity to have an exhibition at the Open Space Visitor center gallery in November of next year.  I thought it would be a great idea to make long, narrow pieces to hang from the center of the gallery that we can walk through, and have it be like hiking in our mountains.

 The gallery wanted a sample, so I decided to make a piece centered on a gray fox I saw running through our neighborhood one night,

First of all I worked on the fox, beginning with a sketch in markers on a buff piece of batik.
 Then I put it on the
machine, simply layered on a piece of felt with no other backing.
I then stitched it very closely with grays and a little red and white.
After it was completed, I removed it from the machine, cut away the excess felt, and turned the fabric under to make a large applique piece.
Next came the various elements of the landscape- I painted a piece of silk for the sky, and marker-sketched a bit of hand dye with some distant mountains.
I knew I wanted rocks (we're the rock capital of the world), yuccas, and a grassy hill, so I cut those shapes out of appropriately colored material.


I gave each shape a color wash of dye na flow for
extra shading and depth- grey, burnt umber, and purple.  I built the yuccas from the shaded purple-gray-green, stacking up the long narrow leaves on a piece of teflon.

The sky was quilted by itself first-the reason for this is two fold- I can sew freely without worrying about running into foreground elements, and also I can move those elements around for maximum impact.
After removing it from the machine, I began working my way downward- placing the mountains, hill and a couple of rocks- then I quilted them.

Then came boulders, grasses, the yuccas, and the fox was appliqueed in front of them.
 I used a beautiful striped hand dye for the foreground, over which I put the foreground plants- chamisa and prickly pear- and dabbed on cream, yellow and yellow ochre for the flowers.
Since the piece is meant for free hanging, I backed it with a lightweight black interfacing to hide the stitching and help it to hang straight.
voila!-

Sunday, October 2, 2011

First Colony

 I took a few process pics while making the latest, which is an assembly piece.
It began with a yard and a half of silk habotai and a similar sized chunk of reemay.
First step was to paint the reemay in the color pattern I wanted, beginning with the lightest color which outlined the shapes.

First white, then naples yellow, then began mixing some iron oxide in.


 I segued all the way to deep purple at the centers.
 Then I painted the silk in the same pattern but with the gradation going the opposite way- dark around the outside, light in the middle.
the silk, painting done.
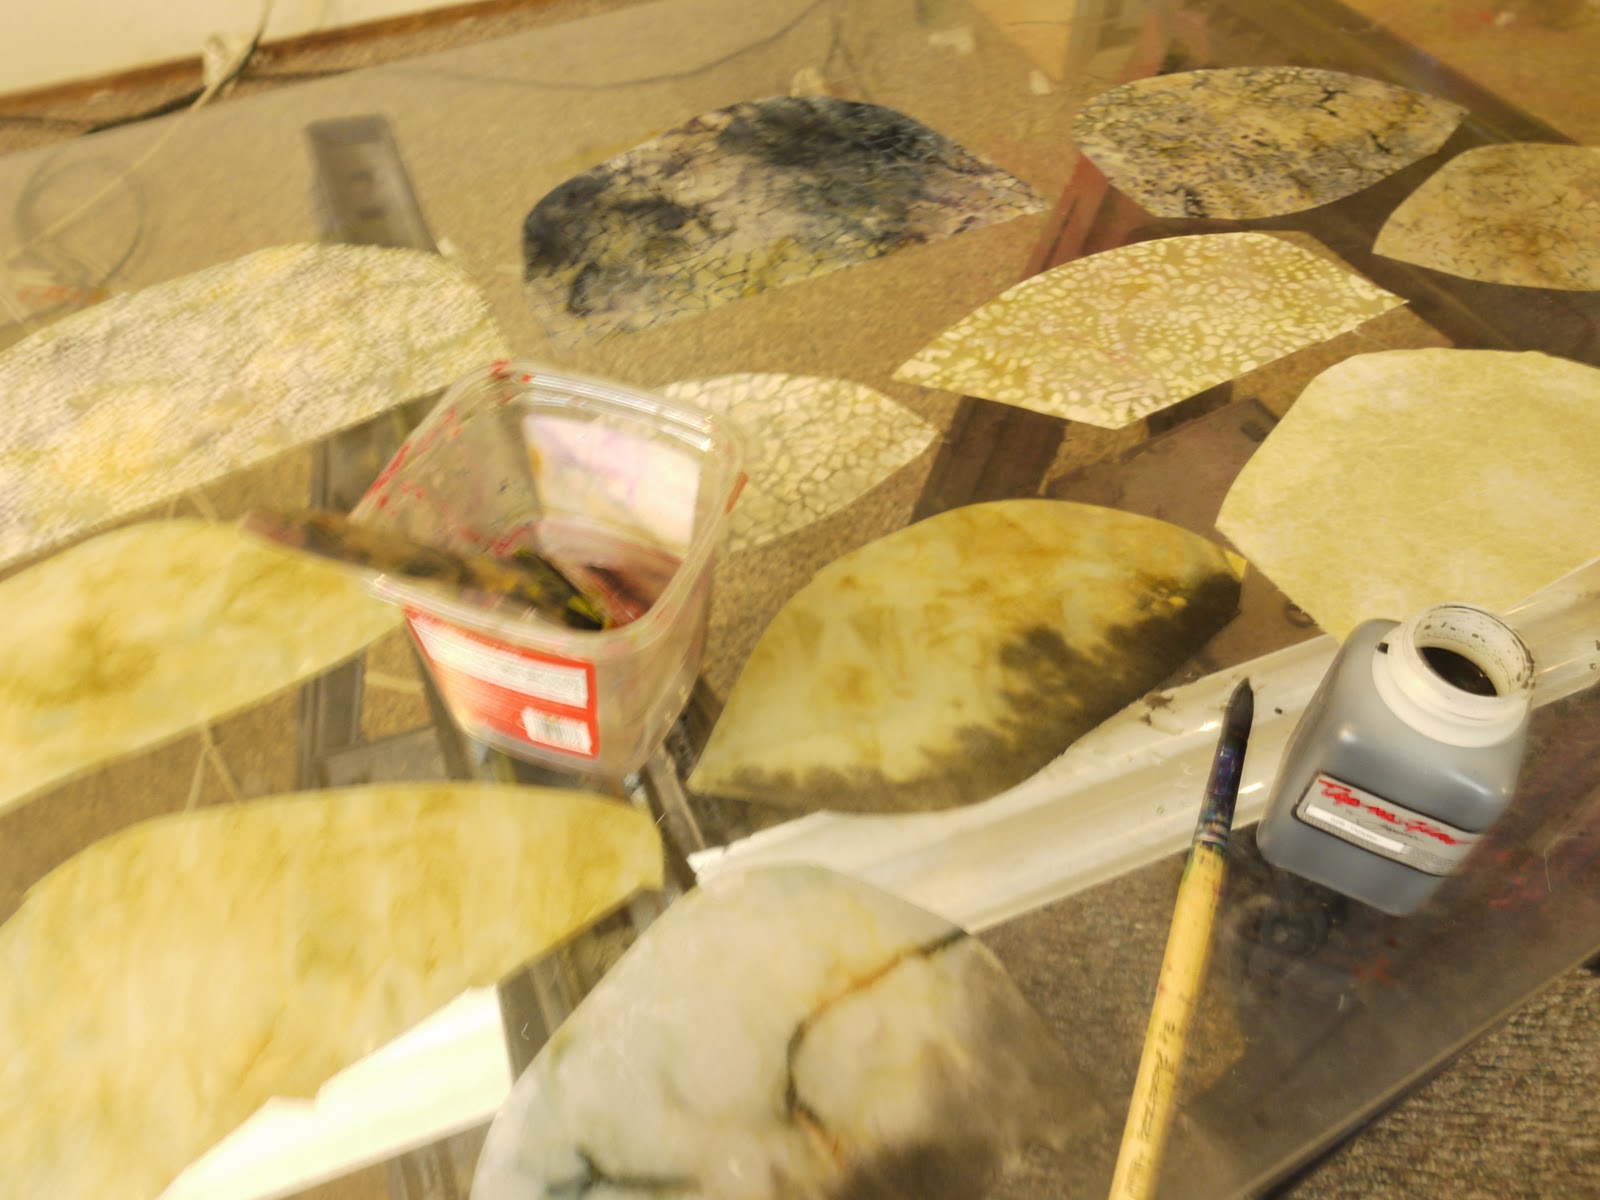
fusible was then applied to the reemay, and I melted a pattern in it with a soldering iron.
here are 2 of reemay cutouts laid on top of the silk. 

this is the silk and the reemay, all fused together and ready for the preliminary quilting.
I put it on the machine with just felt as a backing, and sewed it all, and then cut them apart.

After I turned all the edges under, I reassembled them in the original pattern. I auditioned a lot of different colors of silk dupioni for the background, and finally chose a honey-to purple iridescent that I had overdyed with rust.   I traced the outline of the shapes on the silk with chalk, and quilted just the background.here you can just see the chalk outlines,
this is the quilting pattern


I then appliqued stitched the reemay and silk shapes over the quilted background.
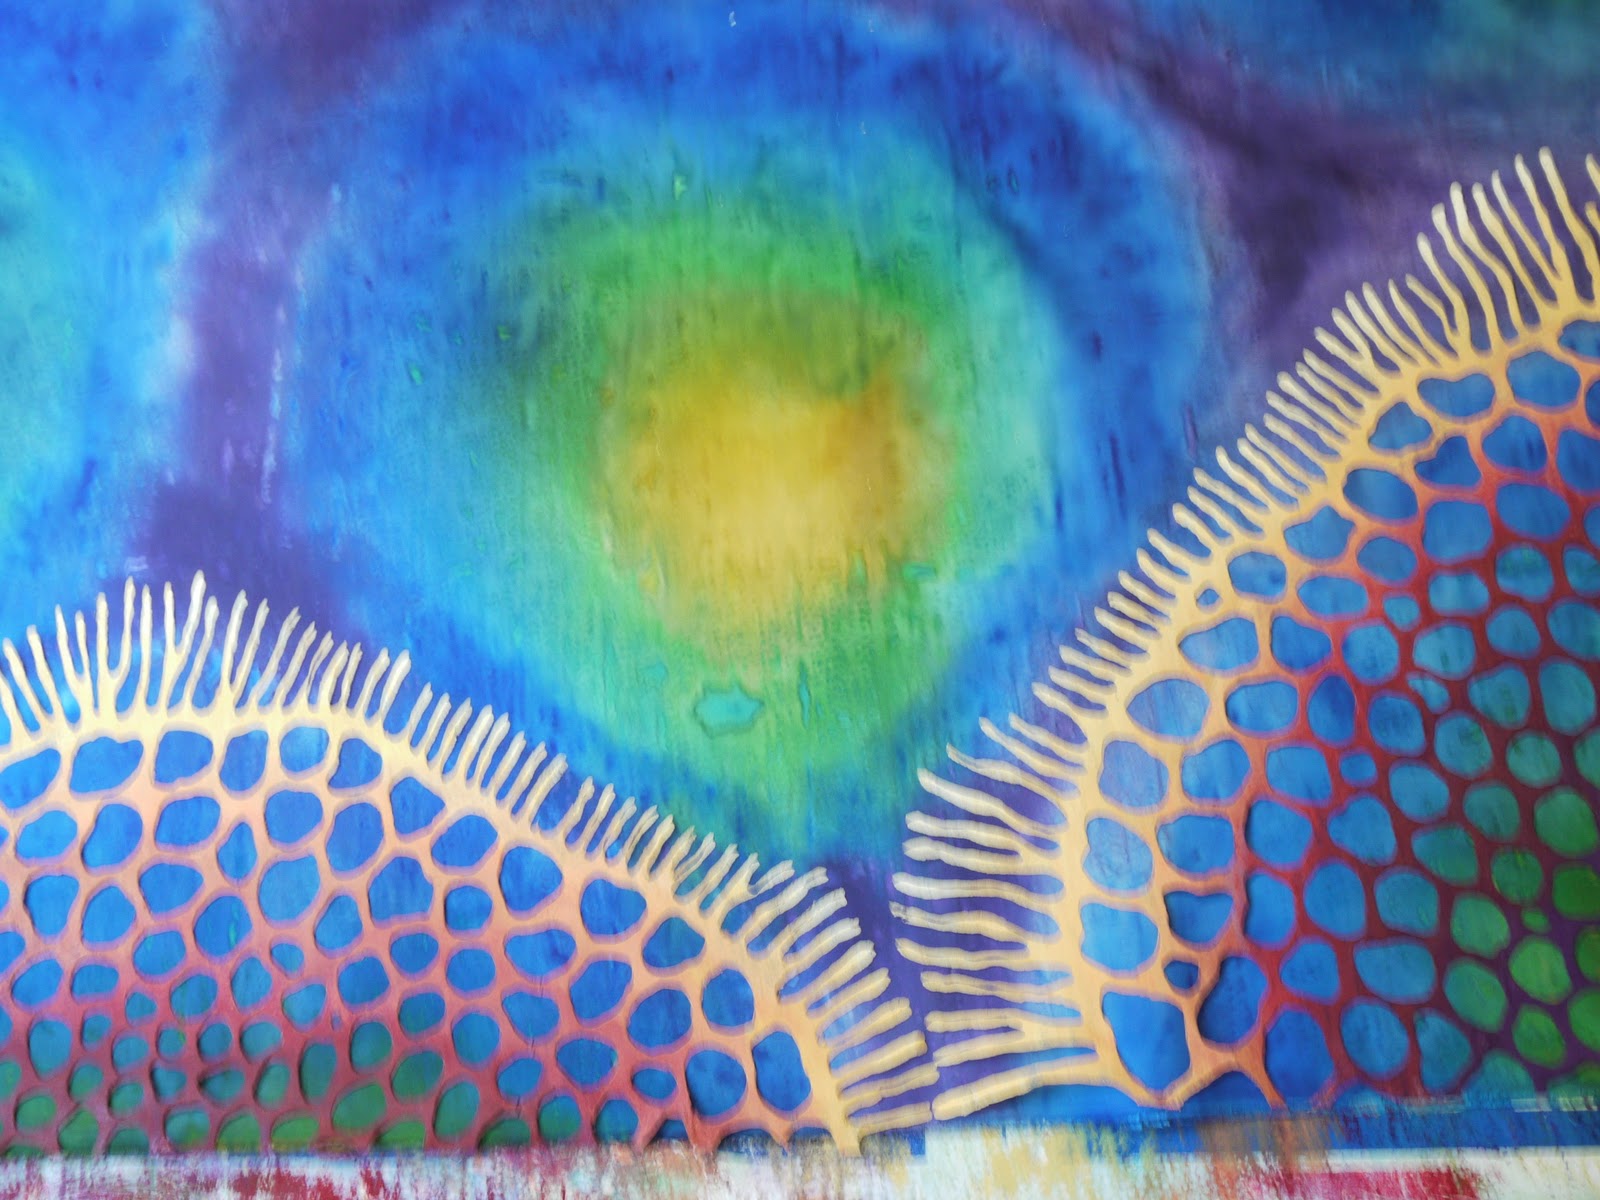
this is a detail of the finished thing, am going to wait a bit before posting the completed piece.