Thursday, May 3, 2012

Art Quilt Santa Fe

AQSF was a blast.  Thanks so much to the bosses, Gale and Ann, and Lorna and Lanie for their invaluable help.  The staff at the Hotel Santa Fe was helpful and accommodating, and the rooms were gorgeous!


Monday, March 12, 2012

Looking back

I just got a wonderful reminder of last summer when my friend Tanya Brown sent a link to the curator talk about Quilt National which is currently showing at the San Jose Museum.   QNtalk


I was able to go to the opening weekend at the Dairy Barn, and met a lot of supportive, generous  artists who have stayed in touch.

Tanya has one of the best blogs around- http://www.tanyabrown.org/blog/
Incisive opinions, brilliant insights and biting humor!

Pat Pauly has an outsize, sparkling personality which is reflected in her glorious work- http://www.piecesandresistance.blogspot.com/

Shoko Hatano journeyed from Japan with her daughter http://hatanoshoko.com/

Deidre Adams (originally from Albuquerque:)) is just north of us in the Denver area.  Not only is she a truly original artist, she also did some great blog posts about our time at the Dairy Barn. http://www.deidreadams.com/

I do try to make an effort to attend shows - there is nothing more eye-opening than seeing your work displayed in a gallery setting, and meeting the other artists and show organizers is quite a treat.

I'll leave you with a pic of the beginning of Opposites Attract- yes it was hung on the clothesline to dry :)


Monday, February 27, 2012

Quilting Arts in Stitches- Volume 6


I'm thrilled to have an article in the latest issue of Quilting Arts in Stitches.
It's a downloadable emagazine with great interactive features- photo zoom and video along with beautifully illustrated instructional material.  It's available for your pc, mac and ipad here-interweave
AND in the app store, if that's easier for you.

It's spring here in New Mexico, which means we're subjected to howling icy winds.  One of my favorite antidotes to bad weather is to surround myself with glowing, luscious color.

Here are some of the pieces I love to paint, I call them "bullseyes" and they are a great springboard for all kinds of projects.  I used one of them as a base for a step by step project featured in the Stitches article.  Here's a tutorial on you tube on how to make them- once you get started, you won't want to stop!
We're offering a workshop in Santa Fe featuring this technique and many others-http://www.artquiltsantafe.com/

want to see how to turn this-into this?  it's in the magazine!
The great thing about the format is that you can explain it in print, then show it in a video that you can watch as many times as you like.


I'll be giving away a pair of GrabARoos Gloves for Quilting that were reviewed in the magazine.  Drop me a note and let me know if you'd like them.

My fabulous fellow artists from this issue are also writing about it- here's the schedule.....WITH a giveaway on each
make sure to check them all out!


Monday 2/27 - Lindsey Murray  http://quiltingdaily.com
Tues 2/28 - Betty Busby /http://bettybusbyblog.blogspot.com
Wed 2/29 - Barbara Schneider http://www.Barbaraschneider-artist.blogspot.com
Thu 3/1 - Nancy Cook .nancygcook.blogspot.comhttp://www
Fri 3/2 - Tracy Stilwell .tracystilwell.blogspot.comhttp://www
Mon 3/5 - Sandy Donabed http://www.sandeedee.blogspot.com
Tue 3/6 - Jane Davila http://www.janedavila.blogspot.com


Happy Quilting!!

Sunday, February 5, 2012

but wait there's more


Just now the question of using poly thread with the heat gun came up, so I thought I'd put up some pics
of the tests I did.

 first this is the layout, stitched.....4 different meltables- poly and nylon- on top of 4 pieces of cotton.
this is a sheer home dec material, melted really nicely but there isn't enough contrast with the cotton below to see it well.
 this is a disgusting nylon pillowcase.
 this is the poly I ended up using, you can see where the thread has burned away in spots.
So while the heat gun was out, I attacked some felt with it.....

 made some of it into trees, and put them in quilt.  Although they were pretty stiff with the paint & all they were no problem to sew through.

Moonlight Sonata, 25x42

Monday, January 30, 2012

Artery


Ok, what do a cholla skeleton and face cleaning pads have in common?
 AND, how did they end up in a quilt called Artery?

so, I paint a
 piece of fabric and start laying out the painted face pads on it.
Which is where the cholla skeleton comes in, it has the kind of repetitive organic pattern that I love.
I was annoyed with the kids for leaving wet gloppy cleaning pads in the shower until I looked at them closely- ooh, they have little scrubby dots on them!  that pop out when they are painted, even better...

after all the little green scrubbies were attached with their purple felt centers, I quilted them to their background using a piece of felt for the backing.

 after the quilting, I cut the whole thing out and turned the edges under.

 here it is laid out onto a piece of polyester that will be used for the experimental background.
 I trace around the edges so I know where to paint.
 here's the painting using my fav dye-na-flow
so then I take the painted poly and layer it on top of red cotton batik
 and then quilt the whole thing.


and now for the fun part- I melted part of the poly away with the heat gun to reveal the red batik underneath....use cotton thread for the quilting!


so now I can sew the central branch shape to the background.  hooray for invisible thread!
voila!

Friday, January 27, 2012

Easy stretching

I normally like to paint on a flat surface, but sometimes stretching the fabric is the best option.
It can be super easy & cheap to make a frame that's easily adjustable and can work for a lot of sizes and any material.
Get 2 pieces of wood (these are 1x2's)- length needs to be longer than your biggest fabric measurement- and lay them parallel to each other- as far apart as the shorter measurement of your fabric.
In the photo, these are the east to west pieces.

 Lay 2 pieces of wood on the top to act as crossbars- these are actually plant stakes, you can use 1x1's or more 1x2's.......these are NOT going to be under the fabric, so make sure they are further apart than your widest fabric measurement.

 screw them together in all 4 corners, 2 screws are good to have to prevent the thing from tweaking.
 ok, now flip it over- we are going to attach the fabric to the 2 long sides.
It's good to rinse out your material and let it dry first, any organic material will absorb water and then shrink as it it dries- even PFD.
 ok, now staple your material to one long side, then stretch it over to the other long side and staple it.
Notice how the crossbars underneath are outside of the fabric area.
 I put the staples in loosely, it's a lot easier to remove them when done.  There are special long metal silk painter push pins that they use that are worth getting if you do this a lot.
If you need additional stretching on the ends, it's easy to pin a piece of scrap material and then loosely staple it to the crossbars.
ready for painting!
 BTW, elmer's blue glue gel works great as a resist.  Just remember to let paint cure before rinsing out, a week is ok, 2 is better.
I usually do the painting outside with the stretcher on a couple of sawhorses.  If you're using a table, remember to prop it up at the corners to prevent the middle from sagging and touching the table.
It will most likely drip in the middle, be prepared.
happy painting!

Wednesday, January 18, 2012

Torrey Pines

Several years ago, I had the great pleasure to visit the San Diego area for the opening reception of the Visions show.  We made a day trip to Torrey Pines State Park, and I made a piece based on some photos I took from the back door of the visitor's center.  The place is unique, in my experience, because you drive up to the top of a mountain overlooking the sea, yet are still surrounded by trees.  They are unique to the area, but since I can't see what makes them so different, I just made some regular old pine needles :)
This is one of my pictures that I used as reference- of course, I changed things around substantially.
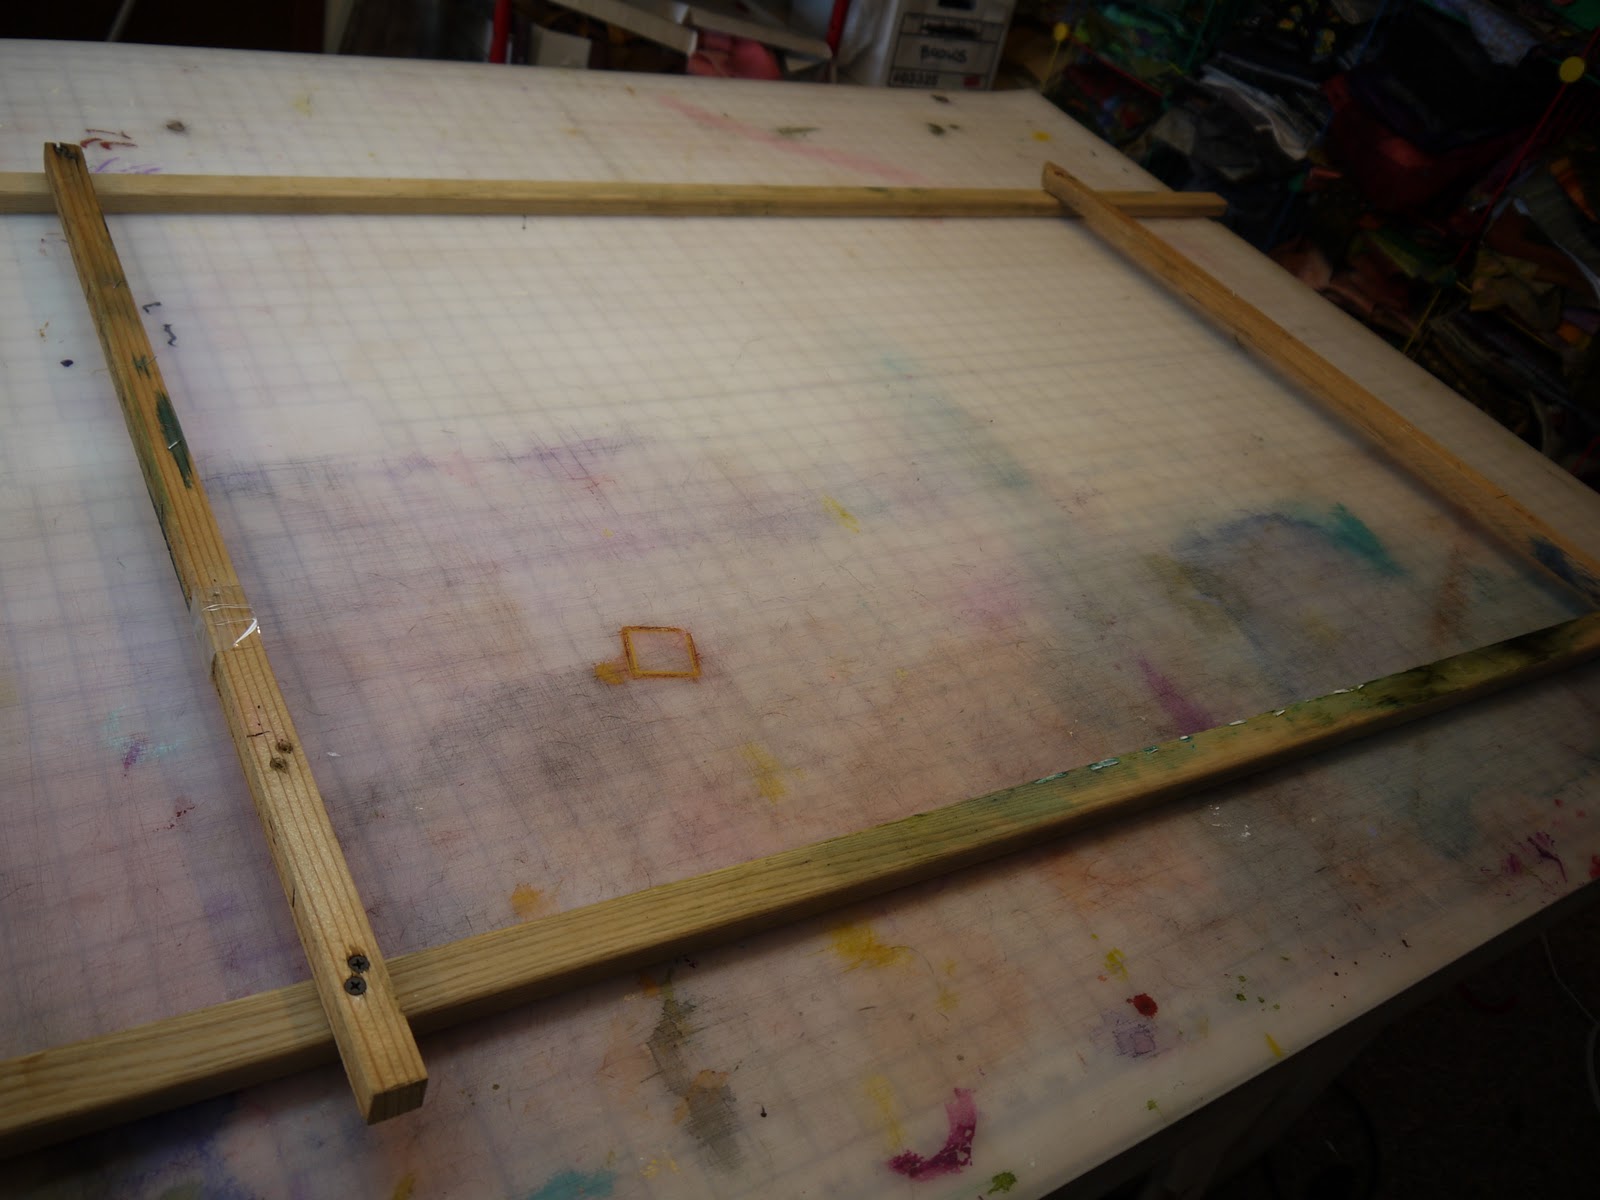
 First I ripped off a hunk of silk and painted a sky
 Then I put up a piece of newsprint- off of a 48" wide roll I bought a couple of years ago- a must have!
Since I hate drawing straight lines, the horizon line is folded in.  A couple of reference photos are printed out and pinned to the right.
Here's the sketch, freehanded of course.  Yes, this is all the drawing I usually do.
 here you see my fabulous light table- recycled glass shower doors, sawhorses, shop light.
I have the newsprint sketch between 2 of the glass pieces, and will lay silk over the top to paint it.  The light shining upward will let me see the guidelines of the sketch with out having to actually make marks on the silk.
painting in progress, it's intentionally very loose and flowy- I'll add details with paintstick and stitching.
 my favorite stencil- ripped up paper.  You can do almost anything with it.
 surf lines and estuary stream.
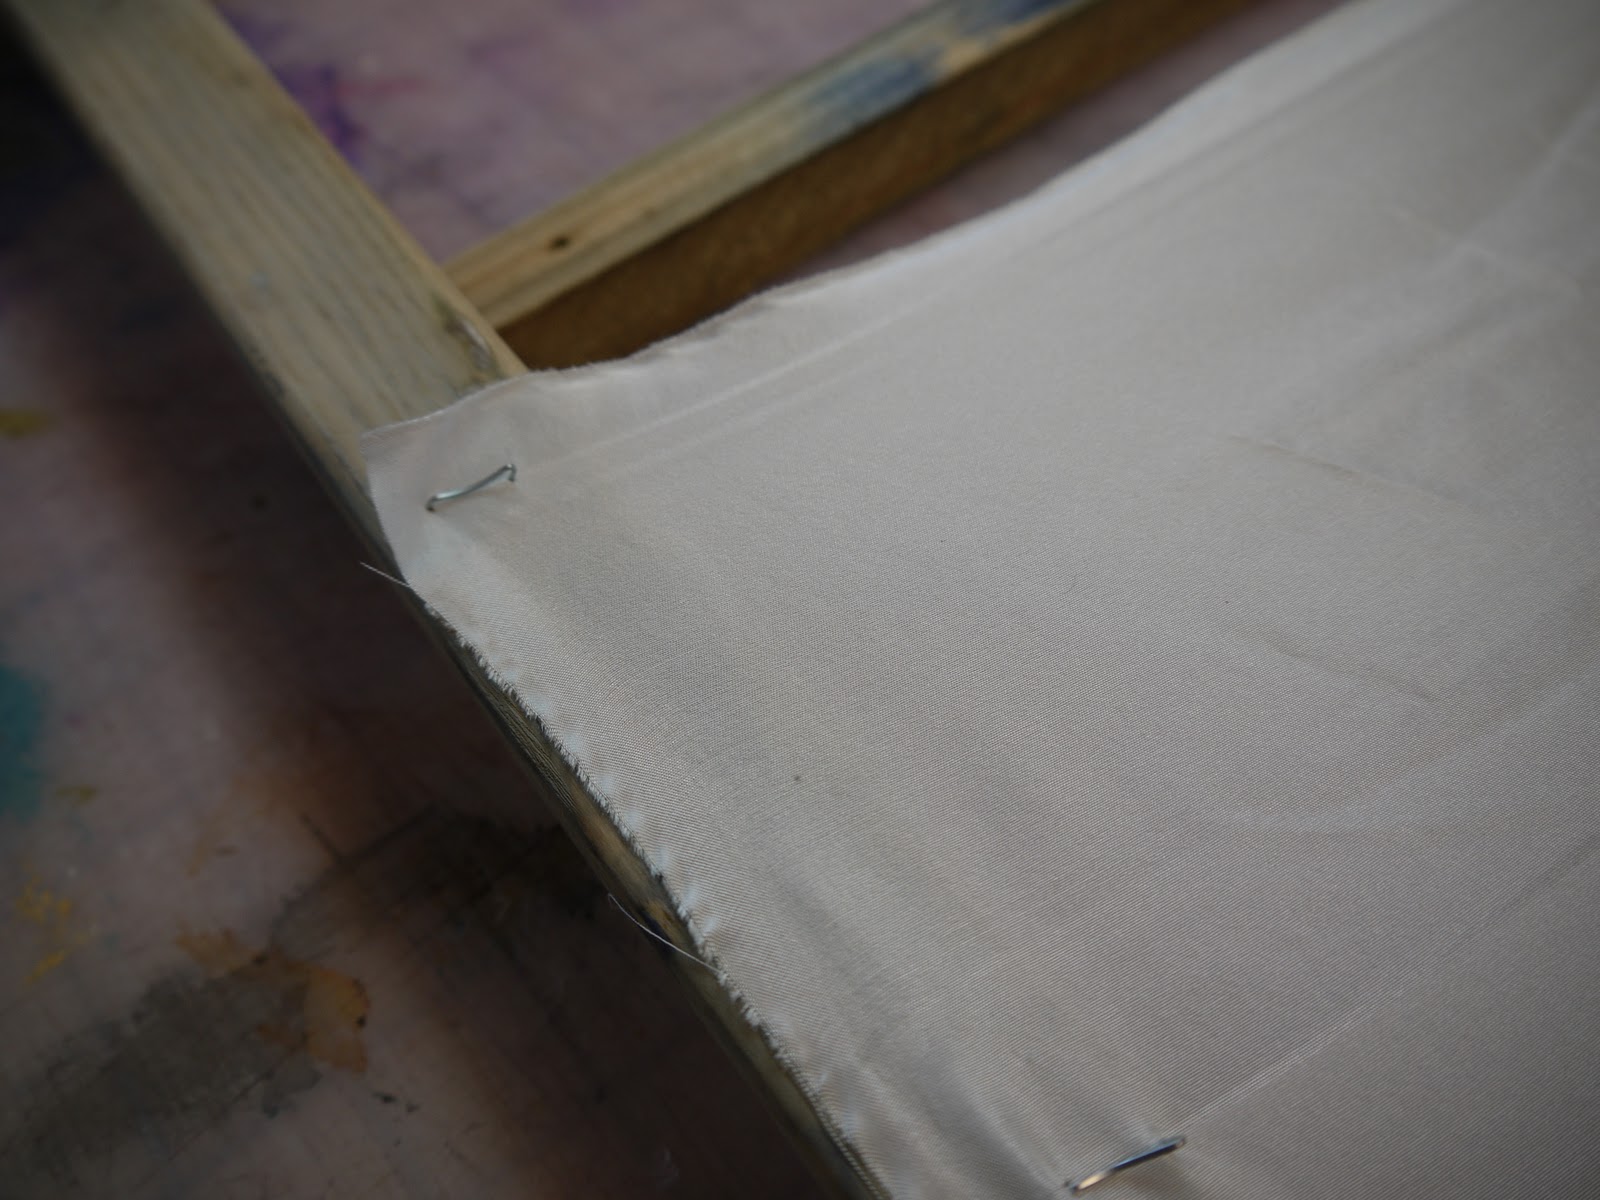
I seamed the sky and the sea/land portion along the horizon line, and pre quilted the entire thing.
 here is is, having boulders and hills tried on for size.  The ones on the left are from another picture I took there that I printed onto fabric, chopped up and rearranged.  It's further to the right than the view of the actual picture, but was so cool I had to include it.
 this will all go back on the machine and get quilted.
 Finally, we get to the pines.....first, the branches are stitched with dark thread, which extends beyond the "bark" area to give me more detail and structure for the needles.

Finally, I come back with green for the needles- the better part of a cone of thread went into this.
et voila-
                                                               Torrey Pines, 45x50"

This piece is dedicated to my late, dear friend Trish.  I know she's in a place even more beautiful.
Rest in peace.